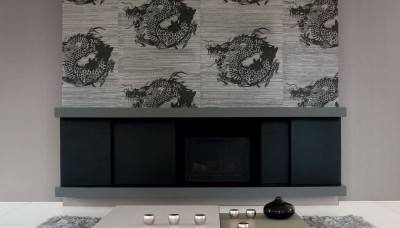
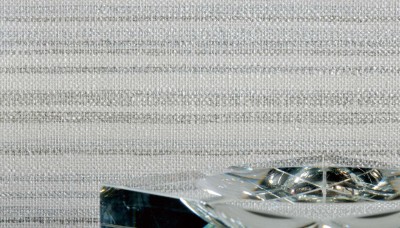
Horizontal laying of wallpaper is another common laying method, especially suitable for those with horizontal stripes or horizontal pattern designs to enhance the visual width of the room. The following are the detailed construction steps for laying wallpaper horizontally:
Preparation
1. Tools and Materials Preparation: Make sure you have all the necessary tools, including tape measure, pencil, level, scissors or wallpaper knife, cleaning cloth, wallpaper brush, pressure wheel, wallpaper glue and bucket.
2. Wall treatment: Clean the wall, remove old wallpaper, nails, hooks, etc., and fill cracks and uneven areas. Make sure the wall is clean, dry and smooth.
3. Measure and cut: Use a tape measure to measure the width of the wall and mark the corresponding length on the wallpaper. Taking into account pattern alignment and corner processing, each section of wallpaper should have a margin of about 5cm more than the actual wall length.
4. Mixing and gluing: According to the instructions of the wallpaper glue, mix the glue correctly and apply it evenly on the back of the wallpaper. Use a wallpaper brush to brush from the center outward to avoid excessive glue on the edges causing overflow.
Start paving
1. Position the first wallpaper: Choose an inconspicuous corner or one side of the wall as the starting point, align the glued wallpaper with the wall, keep the top level with the ceiling, and use a level to assist in positioning.
2. Tiling and exhausting: Slowly put down the wallpaper, and use the pressure wheel to gently push from the middle to both sides to expel air bubbles and ensure that the wallpaper is close to the wall. For long wallpapers, this may need to be done in sections.
3. Pattern Alignment: If the wallpaper is patterned, be sure to carefully align the pattern before laying the second sheet. You may need to adjust the position by "booking" (pre-folding the wallpaper to allow the glue to penetrate).
4. Trim the edges: Use a wallpaper knife to finely trim excess wallpaper along the baseboards, edges of doors and windows, or the edges of adjacent wallpaper to ensure neat edges, and be careful to protect the underlying wall from damage.
5. Seam treatment: At the seam, ensure that the two wallpapers fit closely together, and use a pressure wheel to enhance the sealing of the seam to avoid gaps or warping in the future.
6. Repeat the steps: Continue to follow the above steps and lay out the remaining wallpaper sections one by one, maintaining the continuity of the pattern between each piece of wallpaper and paying attention to the overall horizontal alignment.
finishing touches
1. Cleaning: After paving, immediately use a clean damp cloth to clean excess glue or stains to ensure the surface of the wallpaper is clean.
2. Drying and inspection: Let the wallpaper dry naturally. During this period, keep the room ventilated, but avoid direct wind. After drying, check the wallpaper for bubbles, wrinkles or misaligned areas and make local repairs if necessary.
By following the above steps, laying wallpaper horizontally can not only effectively enhance the visual effect of the space, but also ensure the quality of construction and achieve beautiful and long-lasting decoration purposes.

